Complete Guide: How to Install Your Neon Sign
Installing your new neon sign is easier than you might think! This comprehensive guide will walk you through every step, whether you're in New York, London, Mumbai, or Melbourne.
What's Included With Every Order
Every Neon Glowing Lights sign ships with everything you need:
- LED neon sign with pre-attached hanging hardware
- Wall mounting kit - screws, anchors, and wall plugs
- Power adapter - correct plug type for your country (US/UK/EU/AU/IN)
- Dimmer remote control - adjust brightness wirelessly
- Installation guide - printed and QR code to video
- Hanging chain (optional) - for suspended installations
Before You Begin
Safety Checklist
Ensure the wall can support the sign's weightCheck for electrical wires or pipes behind the wallHave a power outlet within reach of the cordKeep away from water sourcesTools You May Need
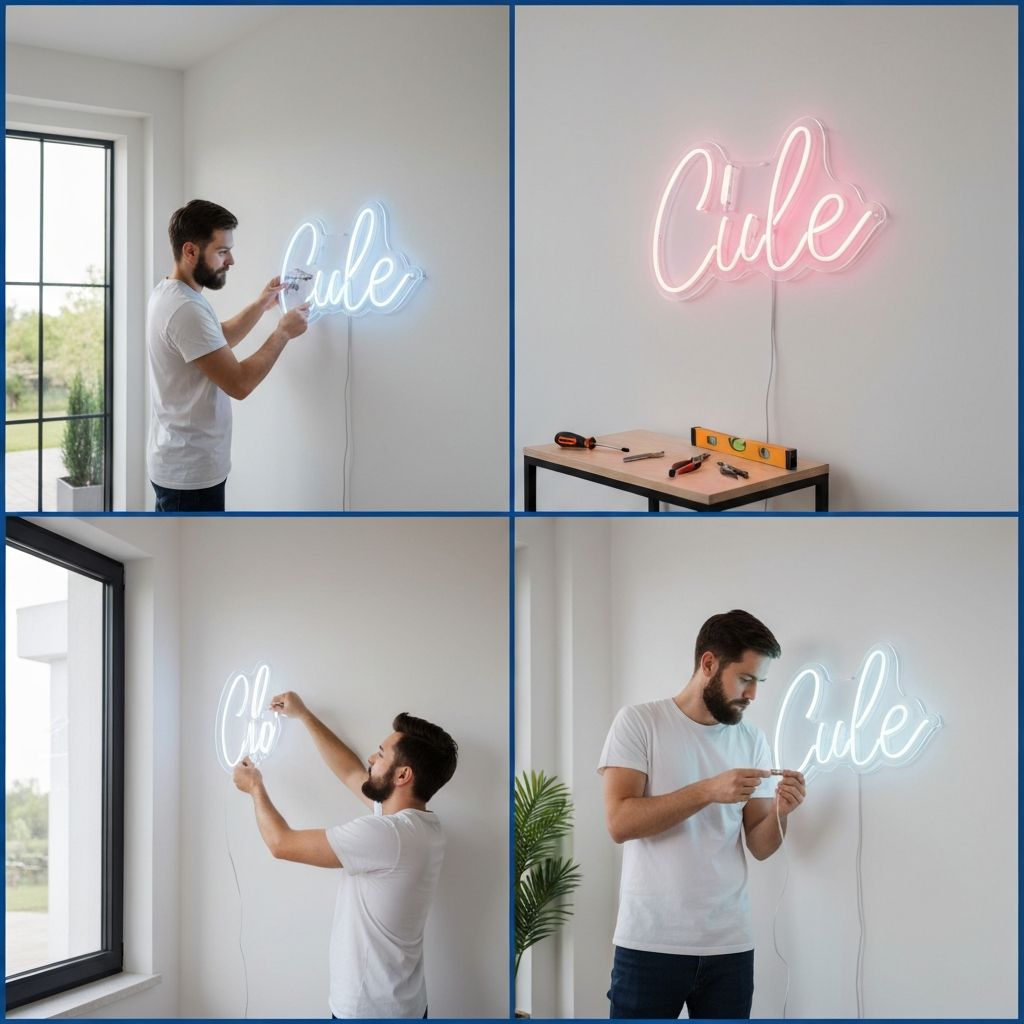
Drill with appropriate bitLevel (or phone level app)Pencil for markingTape measureScrewdriverInstallation Method 1: Wall Screws (Recommended)
Best for: Permanent installation on drywall, wood, brick, or concrete
Step-by-Step Instructions
Step 1: Plan Your Placement
Hold the sign against the wall at your desired locationUse a level to ensure it's straightConsider viewing angles and lighting conditionsStep 2: Mark the Holes
Have someone hold the sign in positionMark the screw hole positions through the mounting bracketsDouble-check with a levelStep 3: Drill Pilot Holes
For drywall: Use wall anchors providedFor wood: Drill pilot holes slightly smaller than screwsFor brick/concrete: Use masonry bit and wall plugsStep 4: Install Mounting Hardware
Insert wall anchors or plugs if neededScrew in the mounting screws, leaving 5mm gap from wallStep 5: Hang Your Sign
Carefully lift the sign onto the screwsEnsure all brackets are securely hookedAdjust for level if neededStep 6: Connect Power
Plug in the power adapterTest the dimmer remoteEnjoy your beautiful new sign!Installation Method 2: Hanging Chain
Best for: Events, temporary displays, ceilings, or photo booths
Instructions
Attach the included chain to the pre-installed hooks on your signConnect chain links to achieve desired lengthHang from a secure ceiling hook, beam, or trussRoute power cord safely down to outletSecure any loose cablesPro Tips for Hanging:
Use rated ceiling hooks for heavier signsKeep power cord away from walkwaysConsider cable management clips for clean lookInstallation Method 3: Leaning Display
Best for: Shelves, mantles, tabletops, or floor displays
Simply lean your sign against a wall on any stable surface - no tools required!
Best Surfaces:
Floating shelvesFireplace mantlesBookcasesConsole tablesFloor (for larger signs)Tips for the Perfect Display
Lighting Conditions
- Dimmed rooms: Signs appear brightest and most vibrant
- Normal lighting: Still visible but softer glow
- Bright rooms: Use higher brightness setting
Optimal Viewing Height
For wall mounting: Center of sign at eye level (approximately 150cm / 5 feet from floor)For photo backdrops: Position for optimal selfie anglePower Considerations
Standard outlet required (110V USA/Canada, 220V UK/EU/India/Australia)Cord length: 2 meters / 6.5 feetExtension cords: Safe to use if rated properlySmart plugs: Compatible for automated on/off schedulesTroubleshooting Guide
Sign Won't Light Up
Check power connection at sign and outletTry a different outletCheck if dimmer is set to minimumVerify power adapter LED indicatorFlickering Sign
Tighten all connectionsCheck for loose cablesTry without dimmer to isolate issueReplace adapter if problem persistsUneven Lighting
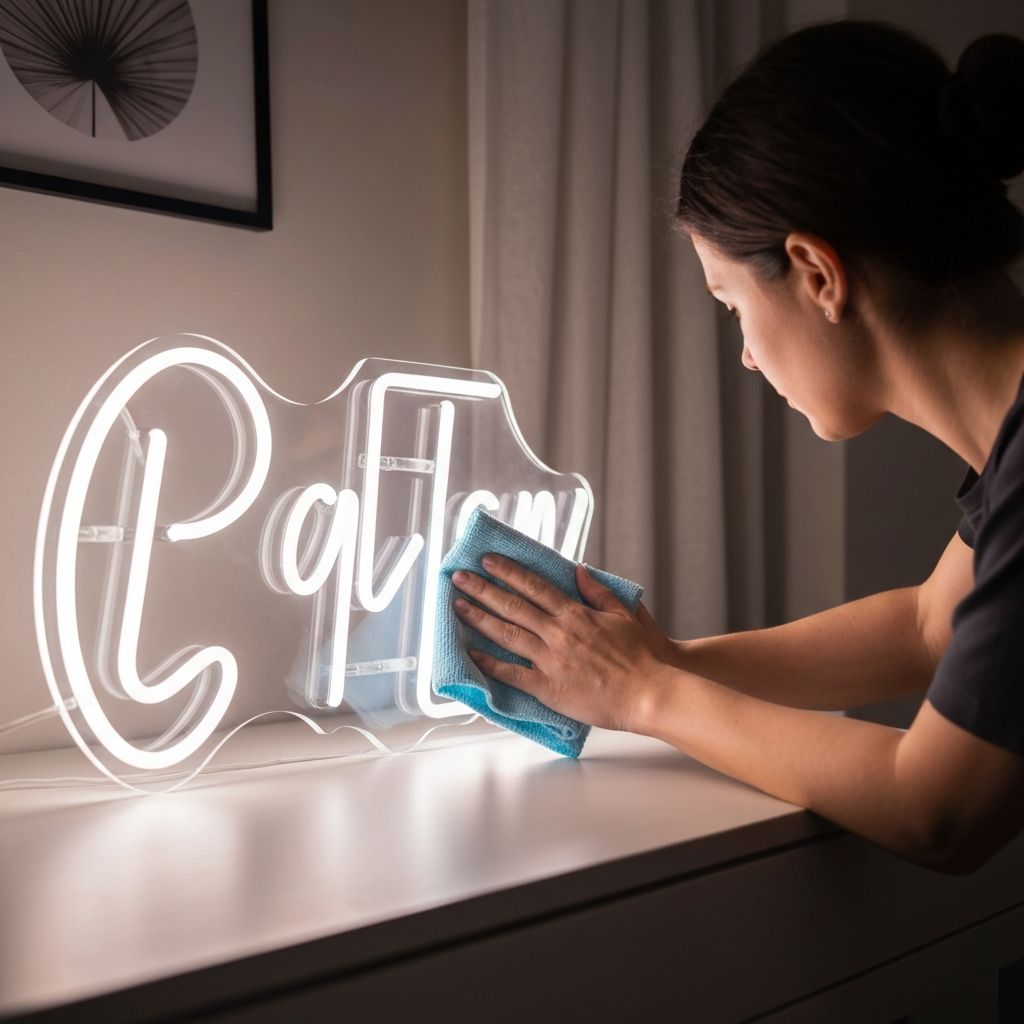
This is normal for very long textBrightness may vary slightly between lettersContact support if sections are completely darkCare After Installation
- Dust weekly with soft, dry cloth
- Avoid moisture near the sign
- Use timer/smart plug to extend lifespan
- Dim when possible for longevity
Country-Specific Notes
USA & Canada
110V adapters with US plug includedUL-certified for safetyUK & Ireland
220V adapters with UK 3-pin plugBS certifiedEurope
220V adapters with EU 2-pin plugCE certifiedIndia
220V adapters with India plugBIS certifiedAustralia & New Zealand
220V adapters with AU plugSAA certifiedNeed Help?
Our installation support team is here for you:
- Video call assistance available
- WhatsApp support for quick questions
- Email guides with photos
Contact our support team anytime - we're here to help!
All signs come with a 2-year warranty covering manufacturing defects and electrical components.